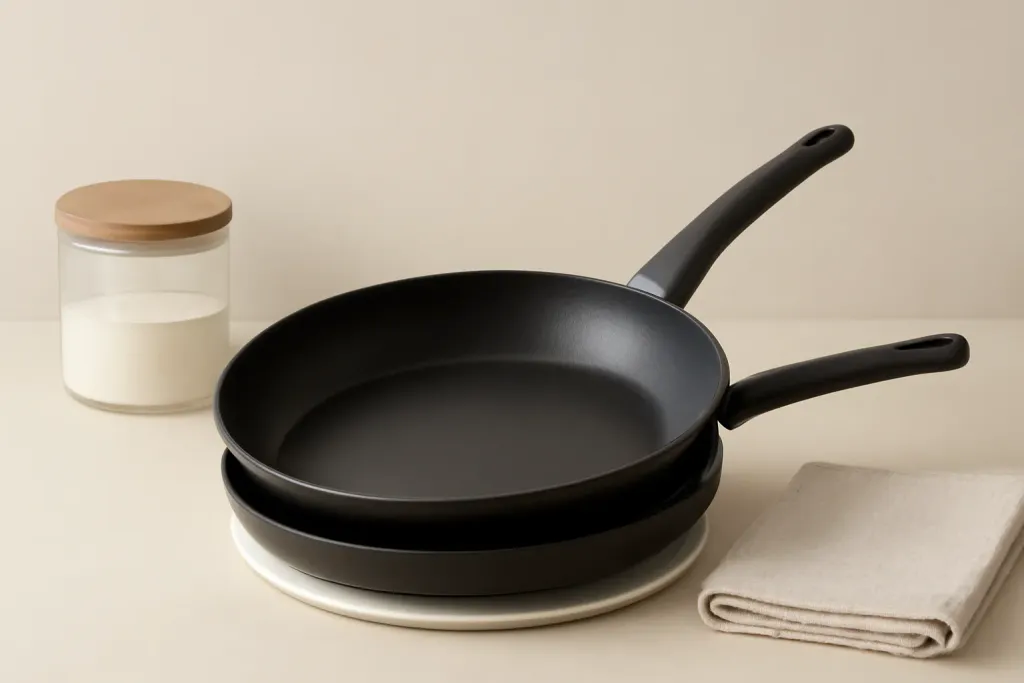
Nonstick Pan Care Basics
A good nonstick pan care guide starts with a simple principle: the coating is helpful, but it needs light treatment. Nonstick cookware is meant to make everyday cooking and cleanup easier, yet it responds best to moderate heat, soft utensils, and careful storage. If you use it the way you might use a heavy-duty stainless skillet, the surface can wear sooner than necessary.
Care begins before the first meal. Many pans arrive with dust from packaging or a thin film from manufacturing, so a gentle hand wash with warm water and mild dish soap is usually the first step. After that, dry the pan completely with a soft towel. That small routine helps set a sensible baseline for later use.
The most useful habits are usually the least dramatic. Keep heat moderate, let the pan cool before washing, avoid abrasive cleaning tools, and store it so the cooking surface does not rub against other cookware. These steps do not require special equipment, but they can make a meaningful difference in day-to-day upkeep.
It also helps to treat manufacturer instructions as the final word. Nonstick coatings, pan bodies, handles, and oven-safe limits vary widely. A cautious routine is the best default when the care label is not fully clear.
First-Use Prep and Light Seasoning
Some nonstick pans need only a wash before use, while others benefit from a light oil treatment. The first step should always be reading the product care directions, because not every coating is meant to be seasoned in the same way. When the instructions are specific, follow them rather than relying on general kitchen advice.
For a basic first-use prep, wash the pan by hand with warm water, mild dish soap, and a soft sponge. Rinse thoroughly and dry completely. If the maker recommends light oiling, use a very thin layer of neutral cooking oil on the interior and wipe away the excess so the surface does not look greasy. The aim is a barely visible film, not a heavy coating.
Some brands call for a brief heat step after oiling, while others do not. Never assume that every pan benefits from the same routine. If the care sheet does not mention seasoning, simple washing and drying may be enough. Extra oil can attract residue and make cleanup less pleasant.
Think of seasoning, when recommended, as optional maintenance rather than a fix for wear. It may help the pan release food more smoothly in some cases, but it cannot repair scratches, peeling, or other coating damage. A careful first-use routine is most useful because it encourages good habits from the start.
Cooking Habits That Protect the Pan
The way a nonstick pan is used matters just as much as how it is cleaned. Moderate heat is usually the most practical choice, since high heat can put stress on the coating and may also affect handles or pan bases over time. Many nonstick pans are better suited to eggs, pancakes, fish, vegetables, and everyday sautéing than to prolonged high-heat searing.
Preheating should be brief and deliberate. Leaving an empty nonstick pan on a hot burner for too long can overheat it quickly. That is especially worth remembering on burners that respond fast, including powerful gas burners and some induction setups. If a recipe calls for preheating, add ingredients once the pan is ready instead of letting it sit empty.
Soft utensils are the most conservative choice. Silicone, wood, and heat-safe nylon are commonly used because they are less likely to scratch the surface. Even so, the way you move the utensil matters. Scraping forcefully, digging under stuck food, or pressing hard on one area can still wear the coating.
Cooking sprays deserve a careful note. Repeated use can leave a stubborn film on some pans, especially if the pan gets hot before cleanup. When possible, a small amount of oil applied directly or with a brush is easier to manage. The main goal is to keep the surface clean and reduce buildup that can interfere with release.
Cleaning Without Damaging the Coating
Cleaning is one of the most important parts of a nonstick pan care guide. The simplest routine is usually the best: let the pan cool, wash it by hand, rinse it well, and dry it fully. Moving a very hot pan into cold water can create unnecessary thermal stress, so patience is worth it here.
For normal cleanup, warm water, mild dish soap, and a soft sponge are usually enough. If food leaves a thin film behind, a short soak often works better than harder scrubbing. Letting the pan sit for a few minutes can loosen residue without forcing the coating to take a beating.
Abrasive powders, steel wool, and rough scouring pads are not good matches for most nonstick surfaces. They may remove stuck-on bits, but they can also dull or scratch the finish. Dishwashers are another point to check carefully; even if a pan is labeled dishwasher-safe, hand washing is generally the more conservative option for long-term care.
Dry the pan completely after washing. Water left around the rim, handle area, or base can leave spots and make the cookware look tired faster. If the surface feels slightly slick after washing, the issue may be leftover cooking oil or spray rather than coating failure. In that case, repeat the gentle wash instead of scrubbing aggressively.
Browse our recommended products
Our featured picks refresh periodically. While we update them, our editorial guides can help you find the right pick.
See our guidesHandling Stubborn Residue and Baked-On Food
Even careful cooks eventually face stuck bits or browned residue. The most reliable approach is to slow down rather than reach for a harsher tool. Fill the pan with warm water and a little mild dish soap, then let it sit before washing again. A longer soak is often more useful than more pressure.
If residue remains after soaking, use a soft sponge or a non-scratch cleaning pad and work gently. Small circular motions can help loosen material without concentrating force in one spot. A paste made from baking soda and water is sometimes used for light residue, but it should still be applied carefully and rinsed thoroughly. Any gritty cleaner should be treated cautiously because friction can wear the coating.
Do not use knives, metal spatulas, or pointed tools to pry food away from the surface. That can gouge the pan in a single motion. It is also wise to avoid letting sugary sauces or burnt drips sit until they harden whenever possible, since hardened residue is much harder to remove without extra scrubbing.
If a pan becomes deeply discolored or the surface feels rough, that may simply reflect normal wear from regular use. Cleaning can improve the appearance, but it cannot always return the coating to a like-new condition. At that point, the better strategy is gentler future use rather than more forceful cleaning.
Storage and Stack Protection
Storage is one of the easiest places to prevent unnecessary wear. If nonstick pans are stacked without protection, the cooking surfaces can rub against one another and pick up scratches or scuffs. A simple separator such as a pan protector, clean dish towel, or even a folded paper towel can reduce contact.
Cabinet storage works well if the pans are kept dry and stable. Try not to place heavy pots or sharp-edged items where they can drop onto the cooking surface. Even a pan that looks fine from a distance may collect tiny marks from repeated contact over time, so a little spacing goes a long way.
Hanging storage can also work, but the hooks should not press hard against the rim or handle. A bent rim or stressed handle is not ideal, and the pan should not swing into other cookware. If your kitchen layout makes hanging practical, keep each pan from bumping into the next one.
Lids deserve similar attention. Glass lids can chip if they knock against cookware, and loose lids can scratch a surface when stored together in a crowded cabinet. Keep matching pieces together when possible, and store everything in a dry place so moisture does not linger in seams or around rivets.
When to Replace a Pan and Common Mistakes to Avoid
No nonstick pan lasts forever, even with careful handling. Over time, the coating can lose its smooth release, develop deep scratches, or show peeling and flaking. When that happens, the pan may still look usable at a glance, but the surface is no longer serving its original purpose as well as it once did.
A practical way to judge replacement is to look at both appearance and performance. If food begins sticking despite gentle cooking and careful cleanup, or if the coating is visibly compromised, it may be time to move on. Trying to force more life from a worn surface with harsher cleaning usually creates more problems than it solves.
Some common mistakes shorten the usable life of a pan faster than people expect. Leaving it empty on high heat, washing it while it is extremely hot, using abrasive scrubbers, cutting food in the pan, and stacking it without protection are all habits that can contribute to wear. Cooking spray used repeatedly on a hot surface can also leave residue that becomes harder to remove.
It is also important not to assume every nonstick pan follows the same care rules. Some are aluminum, some are stainless-clad, some have ceramic-style coatings, and some are only oven-safe up to certain temperatures. The manufacturer’s instructions should always take priority over generic advice. When a pan no longer cleans well or the coating appears compromised, replacing it is usually more practical than trying to restore it with stronger methods.