Why Safe Cleaning Matters
If you are trying to learn how to clean an air fryer safely, the first principle is simple: protect the parts that do the cooking. Air fryers use heat, airflow, and often a coated basket or tray, so the wrong cleaning method can do more harm than the grease you are trying to remove. Harsh scrubbing, soaking the base, or using abrasive tools may scratch finishes, weaken nonstick surfaces, or leave moisture where it does not belong.
Safe cleaning is not about doing the most intense scrub possible. It is about matching the method to the part. Crumbs, oil splatter, and baked-on residue are normal, but they usually come off with mild soap, warm water, and patience. If you approach the job gently and stay within the manufacturer’s instructions, routine cleanup is usually straightforward.
Because air fryer designs differ, the care manual should always be your starting point. Some removable parts can go in the dishwasher, while others are better washed by hand. Some interiors are easy to wipe, while others include coated surfaces that should not be aggressively scrubbed. When instructions are unclear, choose the least aggressive method that still removes residue.
That conservative approach also helps you avoid avoidable wear over time. A basket or tray that stays in good shape is easier to clean later, and a dry electrical base is less likely to suffer accidental damage. In other words, careful cleaning is less about speed and more about preserving the appliance you already own.
What You Need Before You Start
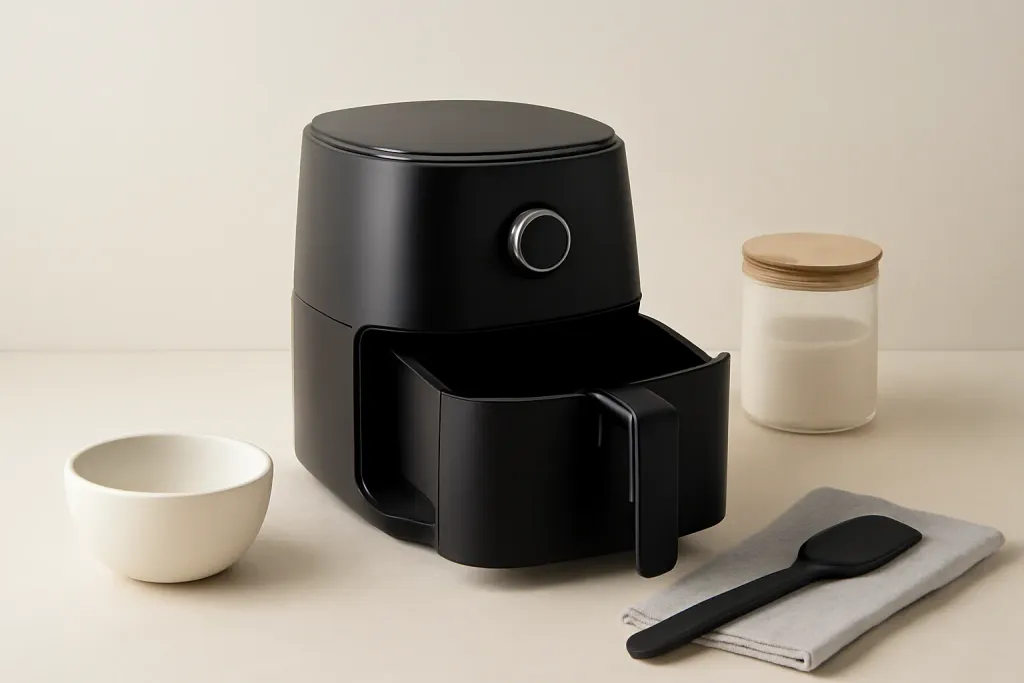
Before you begin, gather a small cleaning kit so you do not have to improvise mid-clean. For most routine jobs, you only need warm water, mild dish soap, a soft sponge or microfiber cloth, a non-scratch brush, and a dry towel. A soft toothbrush can help with corners, seams, and vents around removable pieces, as long as it is used lightly and only on washable surfaces.
It is also useful to clear a sink or counter space for the parts you will remove. Let the appliance cool completely before handling anything, and set baskets or trays on a towel so they do not drip across the counter. If food debris is loose, dump it into the trash first so it does not clog the sink or spread around the wash area.
Keep abrasive tools out of the routine. Steel wool, metal scouring pads, sharp utensils, and powdered cleaners are poor choices for most air fryer baskets and trays. They can scratch coatings and make future cleanup harder. Strong spray cleaners can be more aggressive than needed as well, especially if overspray reaches vents or the heating area.
The simplest setup is often the best one: mild soap, warm water, soft cloths, and a little time. That combination is usually enough for everyday cleaning without creating extra risk.
Cleaning Removable Parts
The basket, tray, or drawer usually takes the most buildup, so start there. Unplug the air fryer and let it cool fully before removing any parts. If your model has removable pieces, take them out carefully and empty crumbs or loose food into the trash. This makes washing easier and keeps debris out of the sink.
Wash removable parts in warm, soapy water with a soft sponge. If residue is baked on, let the part sit in the water for a short time rather than scrubbing harder. Soaking can loosen grease without damaging the surface. For stuck spots, a non-scratch brush is usually a better choice than a rough pad. If the manufacturer says a piece is dishwasher-safe, that may be an option, but hand washing is often the gentlest route.
Rinse thoroughly so no soap film remains. Leftover soap can make surfaces feel sticky and may encourage residue to cling the next time you cook. Dry the pieces completely with a clean towel or let them air-dry before putting them back into the appliance. If water collects in corners or around handles, wipe those areas carefully so moisture does not drip back into the drawer.
Do not pry off stuck food with a knife or metal tool. If something remains attached, return the part to warm soapy water and try again with a soft brush. If the coating is peeling, flaking, or visibly damaged, stop using abrasive methods and check the manufacturer’s guidance for replacement or care.
Cleaning the Interior
The interior of the air fryer also needs attention, but it should be cleaned with restraint. After the unit is unplugged and completely cool, wipe the inside with a damp cloth or sponge that has been wrung out well. The goal is a slightly moist cleaning tool, not pooling water inside the machine.
Work on the walls, lower chamber, and any visible grease film using gentle circular motions. If crumbs have collected in seams or corners, a soft brush or cotton swab can help lift them without scratching. If residue is stubborn, a second pass with a fresh cloth is usually better than pressing harder with the first one. That slower approach reduces the chance of damaging coatings or pushing grime into crevices.
Never run the base under a faucet or immerse it in water. The base contains electrical parts that should stay dry. Also avoid spraying cleaner directly into vents, fan openings, or other internal openings. Moisture in those areas is unnecessary and can create problems that cleaning is meant to prevent.
After wiping, use a clean damp cloth to remove any soap left behind, then dry the interior as much as possible with a towel. Leaving the drawer open for a while can help remaining moisture evaporate before the next use. If your model has specific care notes for the interior, follow those instructions over any general advice.
Browse our recommended products
Our featured picks refresh periodically. While we update them, our editorial guides can help you find the right pick.
See our guidesHandling the Heating Element Area
The heating element deserves extra care because it sits close to electrical components and can be damaged by rough handling. In many air fryers, it is located above the cooking chamber and may collect grease splatter or crumbs. The best approach is usually a light wipe, not a deep scrub.
First, make sure the appliance is unplugged and fully cool. If the heating element is visible and your manual allows cleaning around it, use a soft, barely damp cloth to loosen residue. A soft brush can help dislodge crumbs, but it should be used carefully and without pressure. Never bend, scrape, or force anything against the element itself.
If the area is hard to reach, do not push tools into tight spaces. It is better to clean the accessible surfaces gently than to risk bending a component or pushing debris farther inside. Some manuals give model-specific instructions for this area, and those instructions should take priority over general guidance.
Once you are done, check that the surrounding area is dry before reassembling. If any moisture remains, wipe it away and leave the air fryer open for a bit before plugging it back in. That simple pause helps you avoid trapping water where it does not belong.
What Not to Use
Knowing what to avoid is a big part of how to clean an air fryer safely. Do not use steel wool, abrasive pads, or scouring powders on baskets, trays, or coated interiors. These products can scratch the surface and make future cleaning more difficult. Sharp knives, forks, and similar tools should also stay out of the routine, even when food looks firmly stuck.
Do not submerge the main unit in water or place the base under a running tap. The electrical components inside the body of the appliance are not designed for that kind of cleaning. Harsh chemical cleaners, bleach-based products, and strong oven sprays should also be avoided unless the manufacturer clearly says they are acceptable for your specific model.
It is also wise to skip products that leave behind a heavy fragrance or oily film. Air fryer surfaces do not need that extra residue, and it can make the basket or drawer feel harder to clean next time. For most households, mild dish soap and water are enough for everyday care.
When in doubt, use the least aggressive method that still works. Gentle cleaning protects the surfaces most likely to show wear and helps keep the appliance easier to maintain over time.
How Often to Clean It
A quick cleanup after each use makes the whole process easier. Empty crumbs, wipe away visible grease, and remove loose debris before it has time to harden. That small habit can prevent a short wipe from turning into a much longer scrub later.
Removable parts often need the most frequent attention, especially if you cook foods that leave drips or splatter. The exact schedule depends on how much residue you see, not on a rigid timetable. For some kitchens, that means washing the basket after a few uses; for others, a light wash after every use makes more sense.
The interior and heating area usually do not need as much attention as the basket, but they should still be checked regularly. If you notice a film of grease, crumbs near seams, or splatter around the element, wipe those areas sooner rather than letting buildup get heavier. Waiting too long often makes cleaning more difficult and encourages more forceful scrubbing, which is exactly what you want to avoid.
A simple routine works well for most people: quick wipe after cooking, deeper wash of removable parts when residue builds up, and periodic inspection of the inside of the appliance. Consistency matters more than intensity.
Finish, Reassemble, and Maintain
Before putting the air fryer back together, make sure all parts are dry. Moisture trapped in the basket, drawer, or interior can lead to mess the next time you cook. It can also make the appliance feel less ready for use. Reassemble only when the surfaces are dry to the touch, then plug the unit back in according to the manual.
A few maintenance habits can make future cleaning easier. If your model allows liners or parchment-style accessories, use only those approved for that air fryer and in a way that does not block airflow. Remove crumbs after each use. Wiping spills early prevents them from becoming baked-on spots that are harder to remove later.
If a part looks warped, worn, or damaged, stop using forceful cleaning methods on it. Check the manufacturer’s replacement guidance instead. The same applies if you are unsure whether a surface is coated or dishwasher-safe. When there is uncertainty, a mild hand-wash is the conservative choice.
In short, how to clean an air fryer safely comes down to three habits: unplug and cool the appliance first, use mild soap and soft tools, and keep water away from the base and electrical areas. That simple routine is usually enough for normal kitchen mess without risking avoidable damage.